Adding an emergency sound button to your off-road vehicle can be a lifesaver—literally. Whether you’re blazing through the wilderness, trekking rocky trails, or exploring remote areas, having a quick and effective way to alert others in an emergency is crucial. In this guide, I’ll walk you through everything you need to know about installing an emergency sound button, from the basics to advanced tips. Ready? Let’s dive in!
What Is an Emergency Sound Button and Why Do You Need One?
You might be thinking, why would I need an emergency sound button when I already have my phone or GPS for emergencies? The truth is, technology isn’t always reliable, especially when you’re off the beaten path. Cell service can be spotty or nonexistent, and batteries can run out at the worst possible moments. An emergency sound button is a simple yet powerful device designed to instantly trigger a loud alarm or siren. With just a press, it grabs the attention of anyone nearby, whether they are fellow off-roaders, rescuers, or even hikers, making it a vital tool when you’re in trouble.
This button is more than just a noise-maker. It acts as a beacon in situations where verbal calls for help might go unheard or when you can’t get your phone out in time. Imagine you’ve had a mechanical failure miles from the nearest road, or worse, you’ve been injured and can’t move far. The piercing sound from the emergency button can carry far enough to alert someone who can come to your aid quickly. It’s a straightforward, immediate way to communicate distress without relying on complicated technology or an internet connection.
Beyond emergencies, the sound button serves as a practical deterrent in many situations. Whether you encounter wild animals or unwanted visitors, the sudden blaring alarm can scare them off, giving you extra protection. This added layer of security can make a big difference, especially if you’re camping alone or in a remote area where help isn’t nearby. The sound button essentially extends your ability to protect yourself and your vehicle in ways that a phone or GPS simply can’t.
Finally, having an emergency sound button offers peace of mind that can’t be overstated. When you’re navigating tricky terrain or exploring unfamiliar wilderness, knowing you have a reliable way to alert others if something goes wrong takes a huge weight off your shoulders. It’s like having an extra safety net, so you can focus on enjoying the adventure rather than worrying about what-ifs. That feeling of security is exactly why many off-road enthusiasts consider the emergency sound button an essential part of their gear.
Types of Emergency Sound Buttons
| Type | Description | Pros | Cons | Ideal Use Case |
| Standalone Siren | A dedicated alarm unit that comes with its own built-in button. It’s a complete system designed specifically for emergencies. | Easy to install with a loud and clear alarm sound that’s hard to miss. | Usually requires wiring and a constant power source, which can complicate installation. | Perfect for those wanting a dedicated emergency system with a strong alarm. |
| Integrated Horn | This type uses your vehicle’s existing horn system and adds a special button to activate it in emergencies. | Simple to wire since it uses existing horn wiring; no need for extra parts or sirens. | The alert sound is less specialized and might be confused with regular horn use. | Best for users who want a quick, straightforward setup without extra equipment. |
| Wireless Button | A remote button that sends a wireless signal to trigger a siren or alarm device placed elsewhere in the vehicle. | No complicated wiring needed; button is portable and can be placed anywhere within range. | Signal interference can occur; relies on batteries for both the button and receiver. | Ideal for those who want flexibility in button placement and minimal wiring hassle. |
| Multi-Tone Siren | An advanced system that offers multiple alarm tones or patterns to signify different emergencies. | Provides clear, distinct alerts for different situations; highly customizable. | More expensive and complex to install; may require professional setup. | Suitable for off-roaders who want detailed alert options and enhanced safety features. |
| Battery-Backup Siren | Siren units with built-in battery backup to ensure operation even if the vehicle’s battery dies. | Reliable in all power situations; extra peace of mind. | Higher cost and occasional battery maintenance needed. | Great for those heading into extremely remote areas where power failure is a risk. |
Tools and Materials You’ll Need
Before you dive into installing your emergency sound button, make sure you have everything ready. Having all the necessary tools and materials on hand will make the whole process smoother and save you from frustrating interruptions. Here’s a detailed, comprehensive list of what you’ll need:
- Emergency sound button or siren kit (choose wired or wireless depending on your setup and preference)
- Complete wiring kit for a wired system (including various lengths of automotive-grade wire, connectors, and terminals)
- Fuse and fuse holder to protect the circuit from overloads or short circuits
- Electrical tape for insulating exposed wires and connections
- Heat shrink tubing for extra durable and waterproof insulation of wire joints
- Wire cutters to cut wires cleanly and accurately
- Wire strippers to remove insulation without damaging the wire strands inside
- Flathead screwdriver for screws and terminals that require this type of driver
- Phillips screwdriver for cross-head screws used in mounting and electrical connections
- Power drill with appropriate drill bits (if mounting holes need to be made in your vehicle’s panel or frame)
- Multimeter to measure voltage, check continuity, and verify proper wiring connections during installation
- Zip ties (also called cable ties) to bundle and secure wiring neatly along your vehicle’s frame or inside panels
- Mounting brackets to firmly attach the siren and button in place, preventing movement or rattling
- Strong adhesive pads (double-sided or industrial strength) as an alternative or addition to brackets for mounting
- Terminal connectors (ring terminals, spade connectors, butt connectors) to make secure electrical connections
- Heat gun or lighter to shrink heat shrink tubing properly over wire joints
- Safety gloves to protect your hands while handling tools and wires
- Protective eyewear, especially when drilling or cutting wires, to prevent injury from debris
- Wire loom or conduit tubing to protect wiring from abrasion and exposure to heat or moisture
- Electrical connector crimping tool to properly secure connectors on wires
- Fuse puller or small pliers to safely insert or remove fuses from the fuse holder
- Cleaning cloth and rubbing alcohol to clean mounting surfaces for better adhesion of pads or brackets
Choose the Right Location for the Button
Finding the ideal spot for your emergency sound button is more important than it might seem at first glance. Think of it like choosing the best seat in a theater — you want to be close enough to easily reach it when needed, but not in a place where it gets bumped or pressed by accident. If the button is too hidden or tucked away, you might struggle to find it in a stressful emergency. On the other hand, if it’s in a careless spot, you could set off the alarm unintentionally, causing unnecessary panic or annoyance.
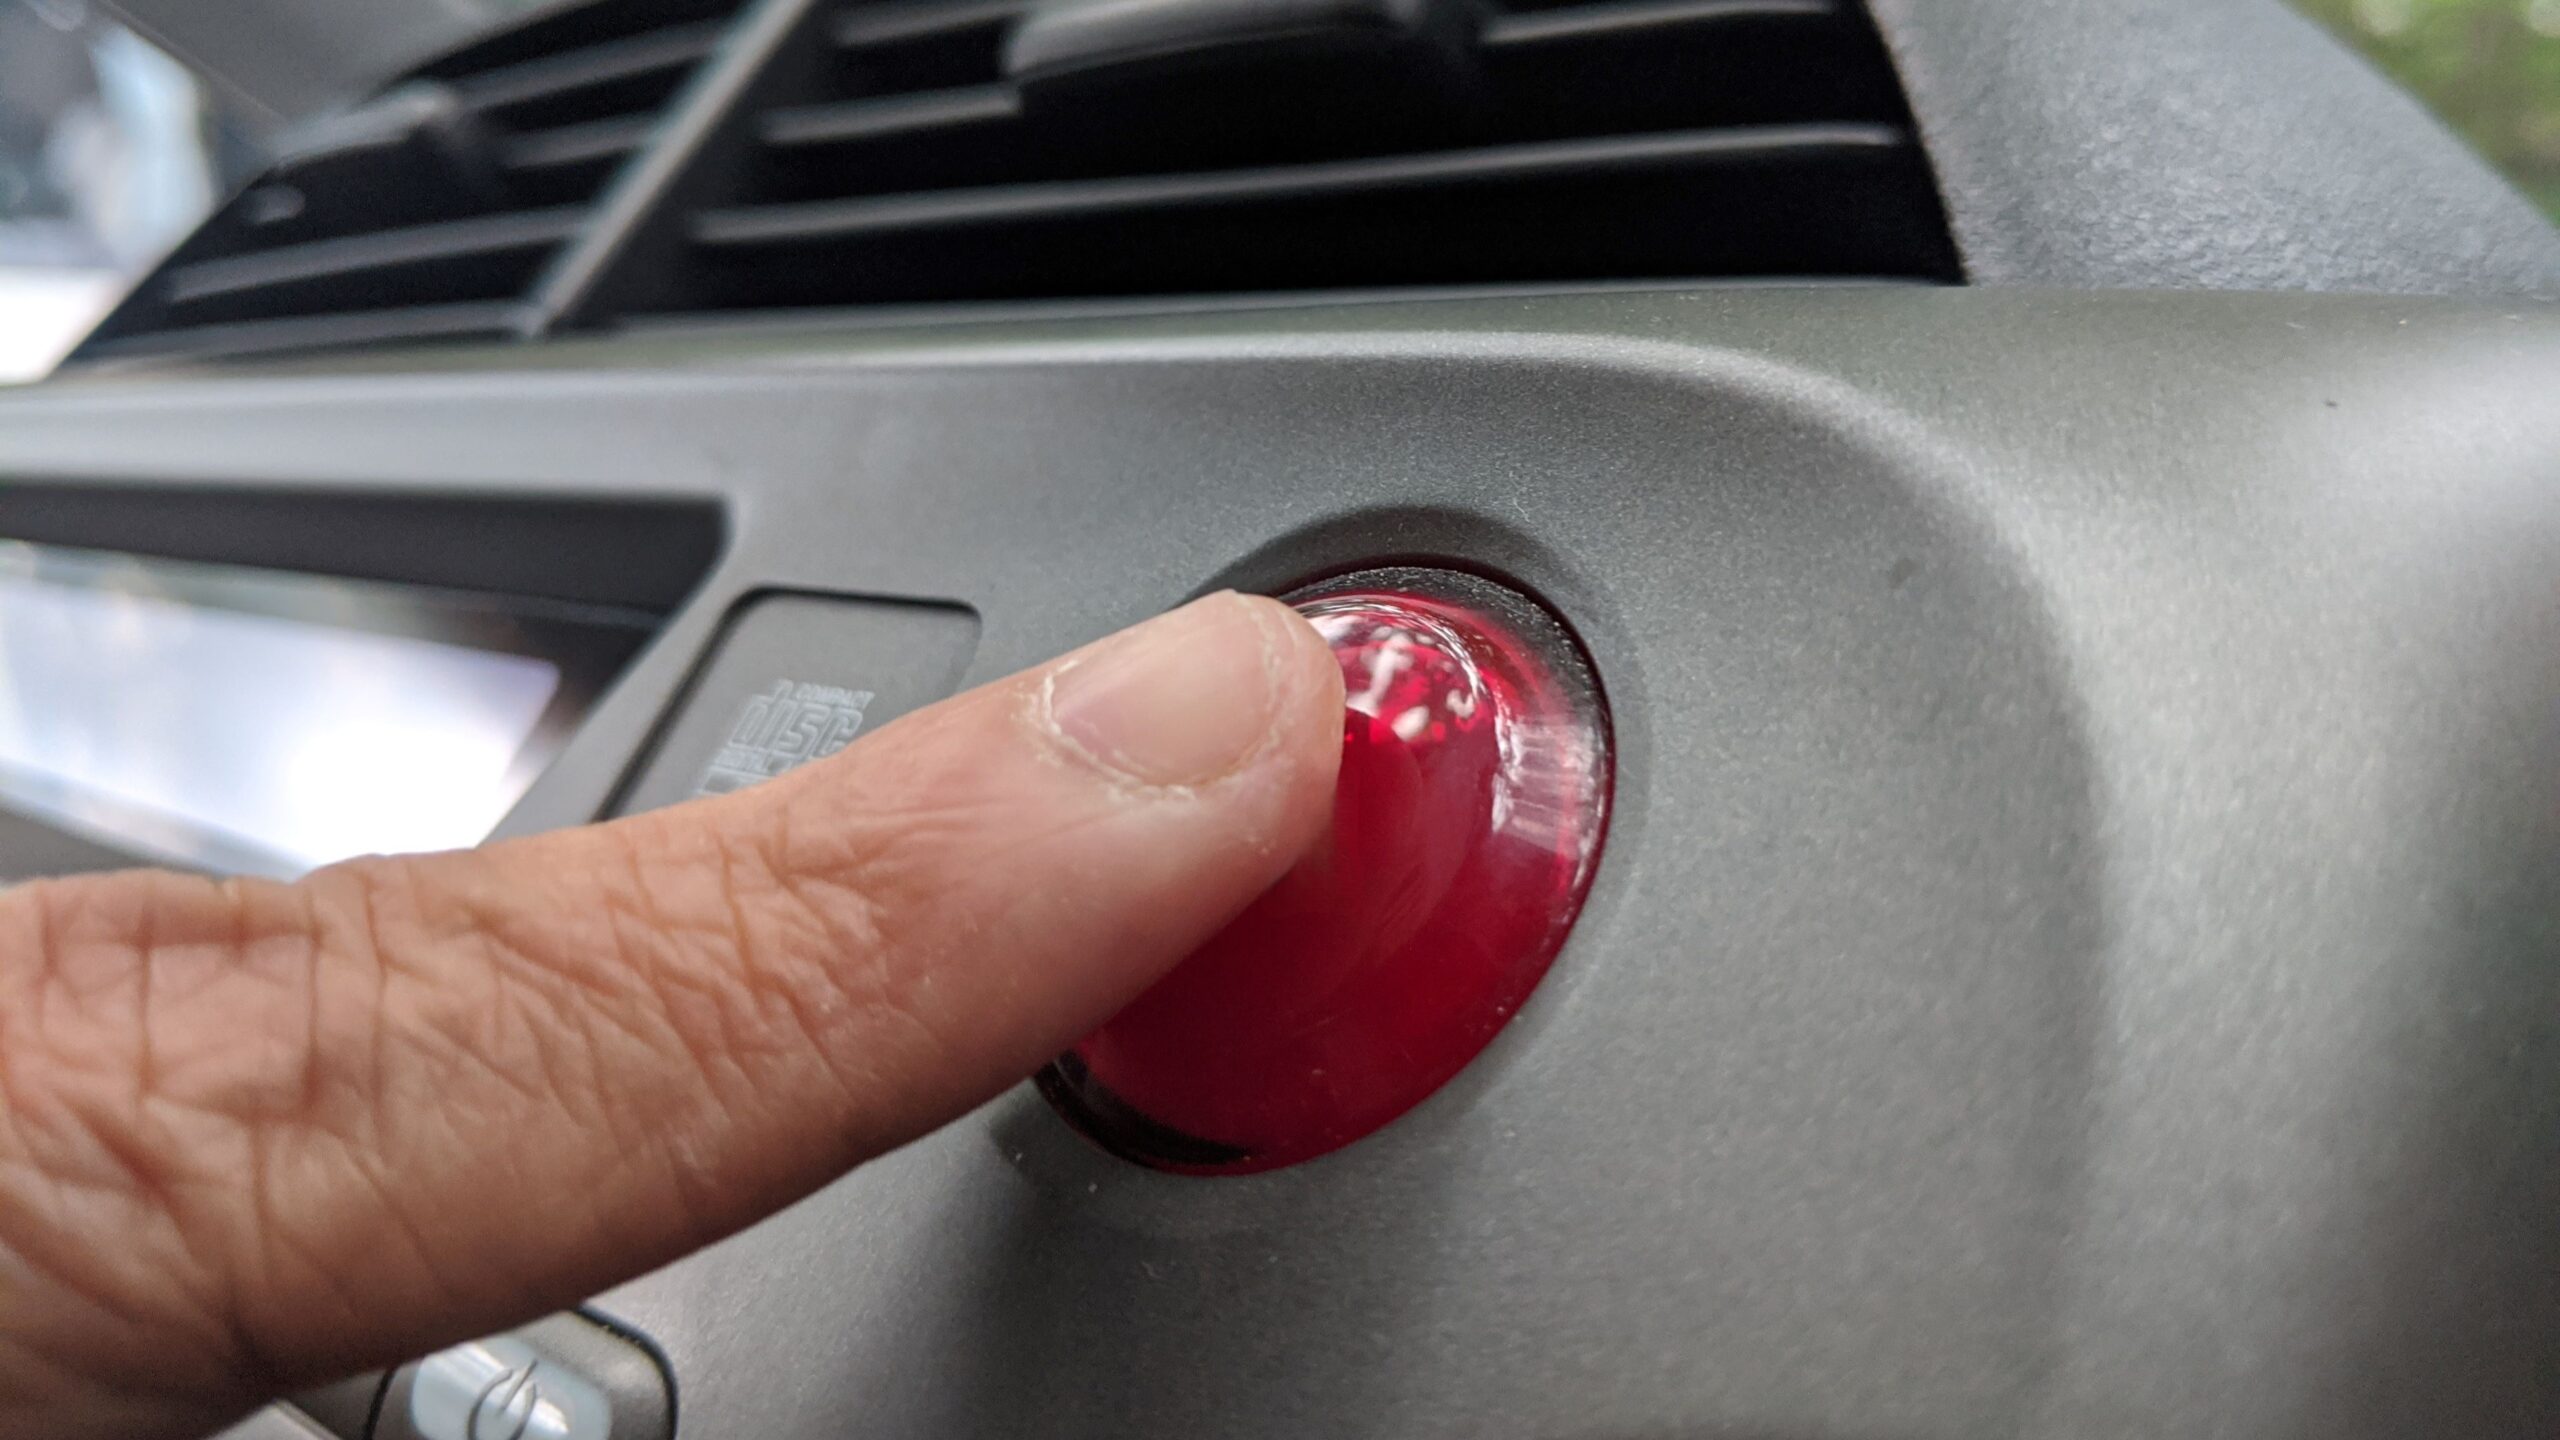
The best location is usually somewhere near the steering wheel or on the dashboard, where your hand naturally rests while driving. This makes it easy to press the button instantly without having to search around. It’s essential that the button stays within your immediate reach, so even if you’re injured or panicked, activating the alarm feels instinctive. At the same time, the button should be placed in plain sight so you don’t waste precious seconds fumbling around during a crisis.
Protection from the elements is another key factor to consider. Since off-road vehicles often face mud, rain, dust, and rough terrain, placing the button somewhere sheltered will prolong its lifespan and keep it working reliably. Avoid locations that get drenched by water splashes or accumulate dirt, as grime can clog mechanisms and interfere with electrical contacts. A spot inside the cabin or behind a clear plastic cover can shield the button from harsh conditions without making it hard to press.
Finally, preventing accidental presses is crucial. A button that’s too exposed or overly sensitive might cause false alarms, which can be both frustrating and problematic. Some people choose to install recessed buttons or add protective covers that require a deliberate press or slide to activate. This extra step balances accessibility with safety, ensuring the button only sounds when you truly need it. Overall, thoughtfully selecting the location of your emergency sound button guarantees it’s ready to save the day when you need it most.
Plan Your Wiring Route
| Consideration | Description | Why It Matters | Recommended Materials | Tips for Installation |
| Shortest Path | Plan the wiring route to be as direct and short as possible between the button, siren, and power source. | Minimizes voltage drop and reduces potential failure points. | Quality insulated wire, connectors | Map the route beforehand to avoid surprises. |
| Avoid Sharp Edges | Ensure wires do not run over or near sharp metal edges or corners that can cut through insulation. | Prevents wire damage and electrical shorts. | Cable conduits, protective loom tubing | Use grommets or edge protectors at contact points. |
| Protect with Conduits | Use cable conduits or loom tubing to encase wiring along exposed sections. | Shields wires from abrasion, dirt, and moisture. | Flexible plastic conduits or braided loom | Secure conduits firmly with zip ties or clamps. |
| Keep Away from Heat | Route wires away from engine parts, exhaust pipes, and other heat sources. | Excess heat can melt insulation and damage wires. | Heat-resistant wiring or conduit | Use heat shields or reroute wiring if necessary. |
| Secure and Manage Wiring | Organize wires neatly along the route using zip ties or clamps to prevent sagging or tangling. | Prevents wire snagging and ensures longevity. | Zip ties, mounting clips | Bundle wires together and check for slack regularly. |
Connect to Power
Before you start connecting your emergency sound button to power, it’s crucial to prepare properly and follow the right steps to ensure safety and reliability. Here is a detailed list of everything you need to do to connect the device to your vehicle’s power source:
- Identify the 12-volt positive terminal on your vehicle’s battery or find a suitable constant power source in the fuse box that supplies 12 volts. This will be the main power feed for your emergency sound button system.
- Choose a power source that remains active even when the vehicle is off, so the alarm can work anytime you need it.
- Install an inline fuse holder on the positive power wire close to the battery or power source. Use a fuse rated between 5 and 10 amps to protect the wiring and the emergency sound device from electrical overload or shorts.
- Make sure the fuse holder is securely mounted and accessible in case you need to replace the fuse later.
- Use quality wiring that matches or exceeds your vehicle’s electrical specifications to prevent voltage drops and overheating.
- Strip the ends of the wires carefully without damaging the copper strands, ensuring clean and secure connections.
- Connect the positive wire from the emergency sound button to the power source via the fuse holder, maintaining solid and tight contacts using connectors or soldering where appropriate.
- Find a clean, unpainted metal surface on the vehicle chassis to attach the ground wire. This grounding point must be free of rust, paint, or dirt to ensure a proper electrical connection.
- Use a ring terminal on the ground wire to securely fasten it to the chassis bolt or screw. Tighten it firmly to prevent loosening from vibrations.
- Double-check all connections for tightness and proper insulation. Use electrical tape or heat shrink tubing to cover exposed wire and terminals.
- Before working on the wiring, always disconnect the vehicle’s battery to avoid accidental shorts or shocks during installation.
- After completing all wiring, reconnect the battery and test the system to make sure the emergency sound button activates correctly.
- Inspect wiring regularly after installation to ensure there are no signs of wear, corrosion, or loose connections that could compromise the system.